
Introduction
PowerShell is a task-based command-line shell and scripting language; it is designed specifically for system administrators and power-users, to rapidly automate the administration of multiple operating systems (Linux, OSX, and Windows) and the processes related to the applications that run on those operating systems. For system administrators (DBAs\Wintel Admins), creating PowerShell scripts is a day to day activity that helps them automate their tasks.
Scheduling PowerShell scripts is one of the key parts in automation. There are multiple ways to schedule a PowerShell script in Windows machines, with options like Windows Task scheduler, SQL Server Agent jobs, Jenkins, etc. This article will give you the insight to understand how you can schedule a PowerShell script using the DevOps Tool called Jenkins.
What is Jenkins?
Jenkins is an open-source automation server that could accelerate the software development process by automating it. Jenkins basically manages and controls software delivery process throughout the entire lifecycle, including build, document, test, package, stage, deployment, static code analysis.
There are a few prerequisites in order to use Jenkins.
- Java 8 or above is required
- Install Jenkins for Windows from the Jenkins downloads website
- Create a PowerShell script, which will check the last reboot time of the server
We schedule this script using Jenkins in this article.
We will walk through how to get set up and schedule the script in Jenkins below.
Java Installation
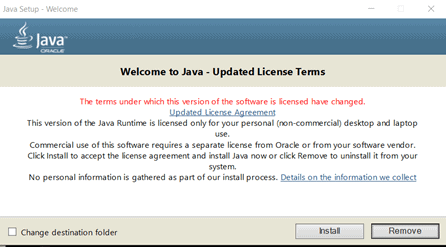
Download the Java JRE-8 from the direct link or visit the java website to download other compatible versions. Once the JRE-8 executable is downloaded, install it on the Windows machine. Installation steps are as follows. First, click on the Install button on the License Page. By default, the java will be installed in the folder C:\Program Files\Java. However, you can change the destination folder by clicking on the 'Change destination folder' as shown in the below figure.
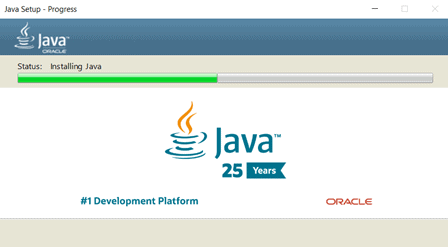
Below, we see the installation in progress.
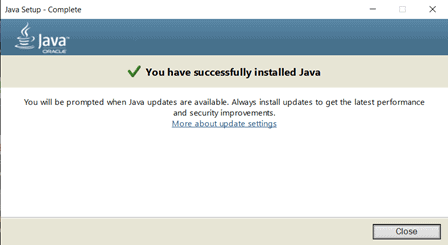
Once the Java installation is completed, the below image will be displayed.
Jenkins Installation
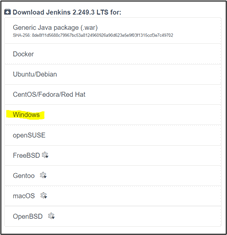
First, browse to the Jenkins download page and find the Downloading Jenkins section. Choose one of the packages from the list compatible with Windows as shown below, which will download a file named Jenkins.msi.
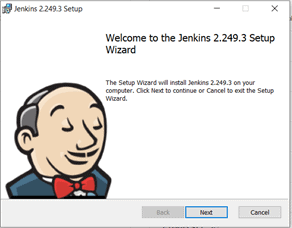
Click on the Jenkins.msi file to start the Jenkins installation. You will see the Jenkins installation Welcome page.
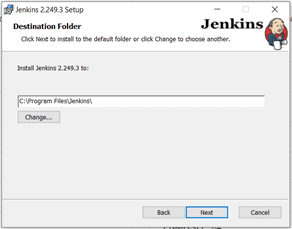
Select the destination folder for the installation.
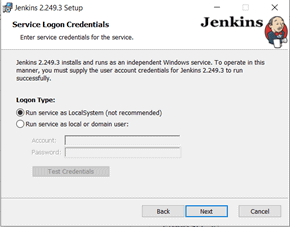
Select the service account under which Jenkins needs to run. Either the local system or a specific service account can be used based on the organization's policy standards.
Type in the port number for the Jenkins server in this section. By default, it is 8080 but you are free to choose any available port number in the machine. Ensure that the chosen port number should be open so that the other servers involved in the automation process can talk with Jenkins on this server.
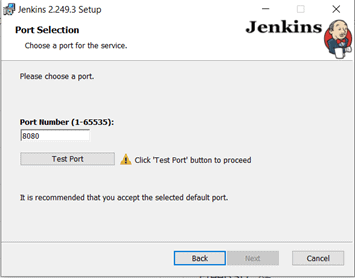
For this article scenario, I have chosen 8181 as the port number.
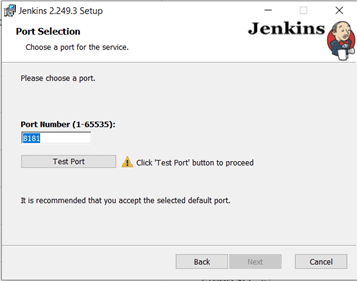
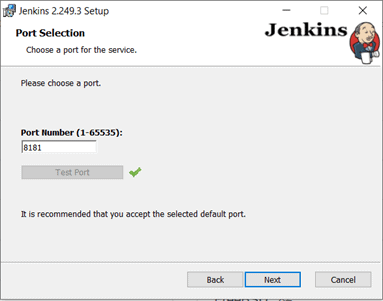
Click on the Test Port button to ensure that the port number we have chosen(8181) is not using by any other services in the machine.
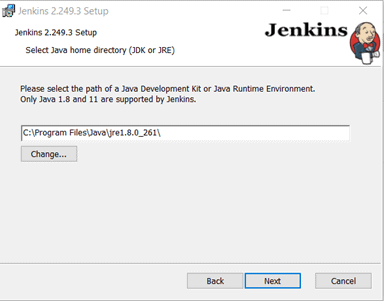
Select the location to the Java installed directory.
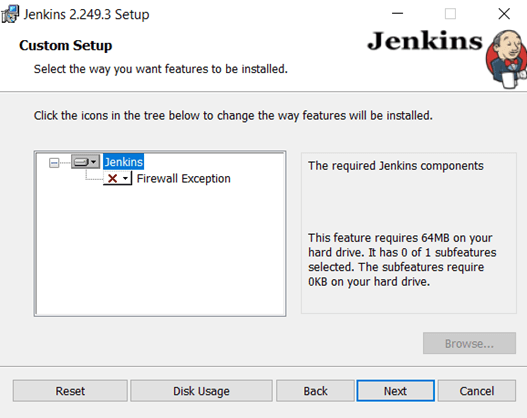
Click Next to just install Jenkins.
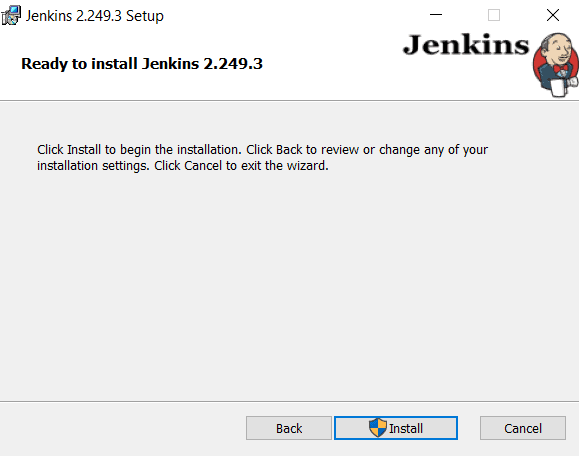
Click Install at this point to start the installation.
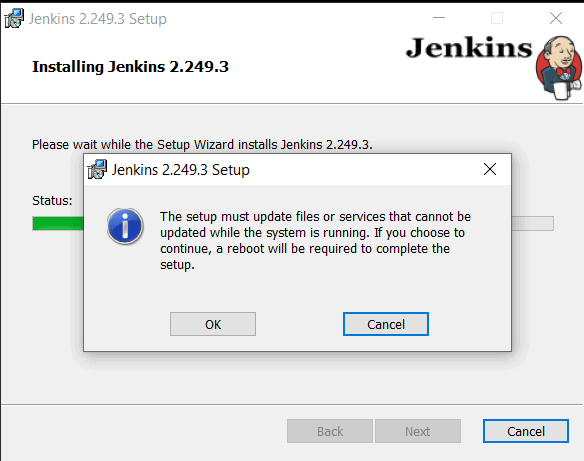
Click OK to reboot and complete the install. The server will not run until you complete the reboot.
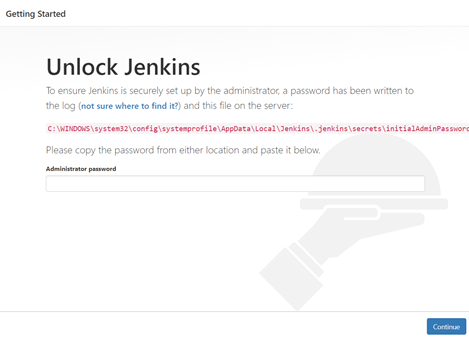
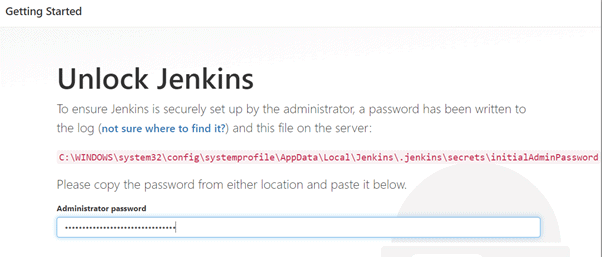
Once the installation is completed, you will be prompted for an administrator password to configure in Jenkins. The initial password is available in the location mentioned on the same page in red color. In this case, the location is below one.
C:\WINDOWS\system32\config\systemprofile\AppData\Local\Jenkins\.jenkins\secrets\initialAdminPassword
Navigate to the location of the initialAdminPassword file.
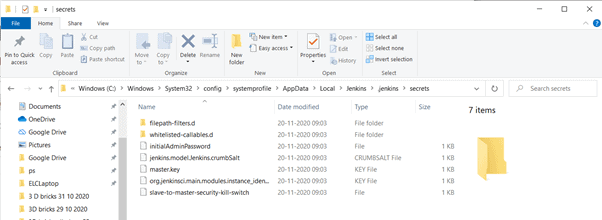
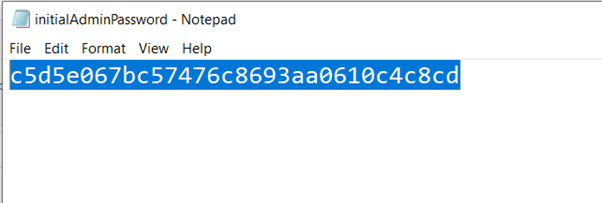
Open the initiaAdminPassword file and copy the password.
Paste the password as shown below in the Unlock screen.
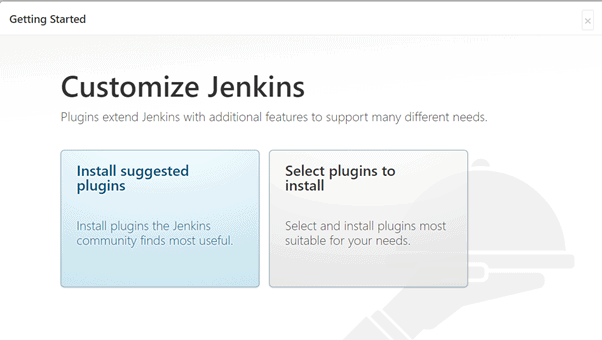
The next page will look like the below image. Select the 'Install suggested plugins' to will install the Jenkins suggested plugins. You can skip this step as well by choosing 'Select plugins to install' and choose the plugins from the list. Here I am going with the former option to install the suggested plugins. Plugins can be managed in the Jenkins using the option 'Manage Plugins' that we will discuss later in this article.
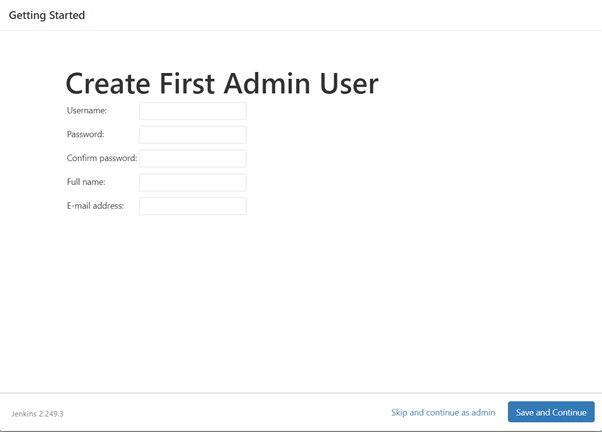
Once the suggested plugins are installed, on the next page, there is a provision to add a new user so that you can log in to the Jenkins with this user from next time onwards. Fill in the details on the page.
In the below Instance configuration page, a web link will be auto-populated with 'http://localhost:8181/'. This web link opens the Jenkins page each time for you to manage the Jenkins. Supply the username and password in the login page that was created above.
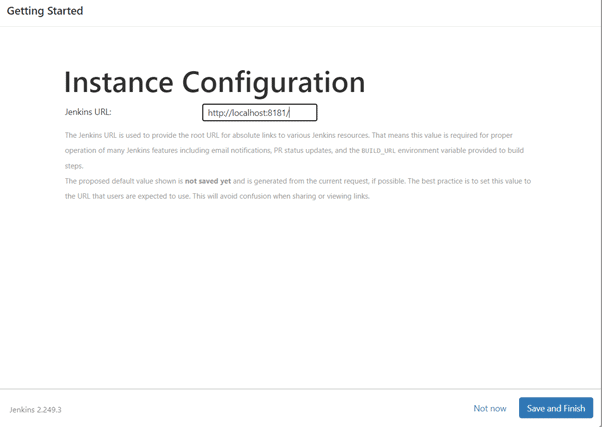
Once the Save and Finish button is clicked, the below page appears and you are good to start using Jenkins.

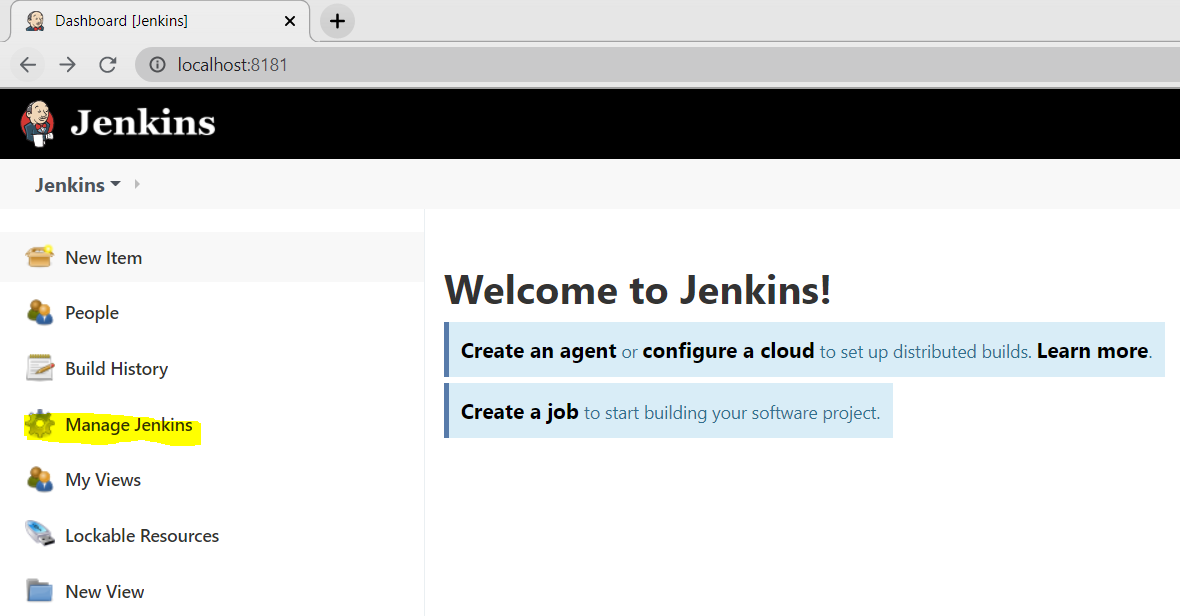
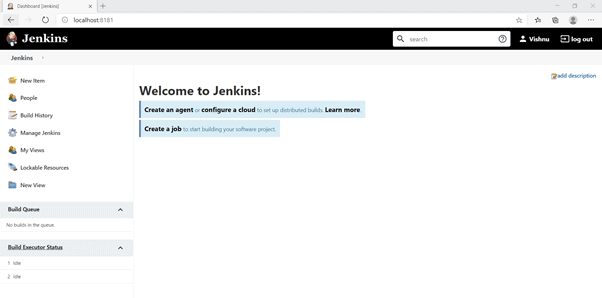
Click on 'Start using Jenkins'. Jenkins homepage will appear now as shown below.

Install the PowerShell plugin
In our case, we need to install the PowerShell plugin to automate the PowerShell scripts. For the PowerShell plugin installation, on the home page, click on the 'Manage Jenkins' option on the left side.
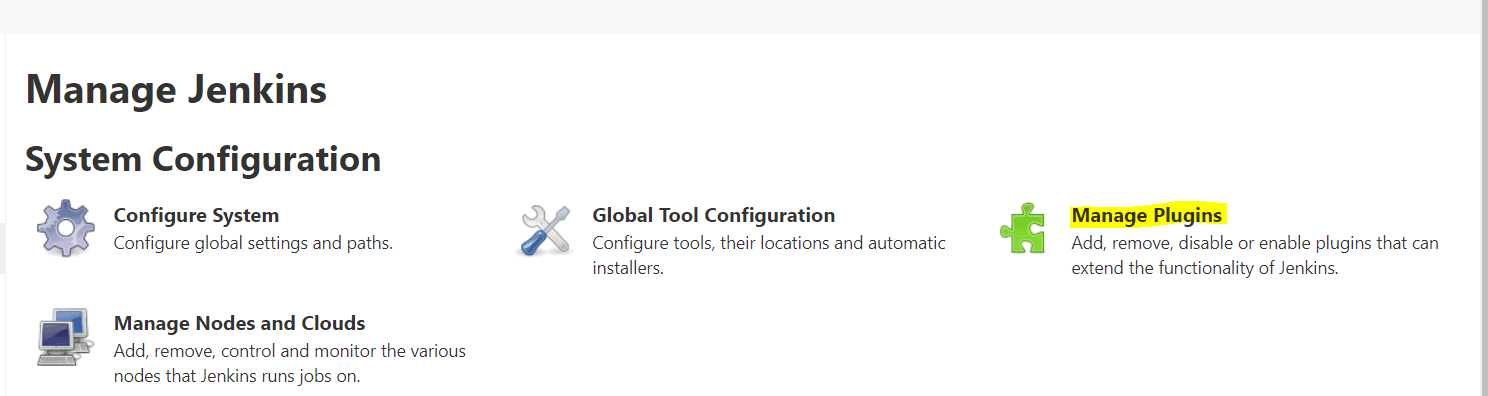
Click on the 'Manage Plugins' link.
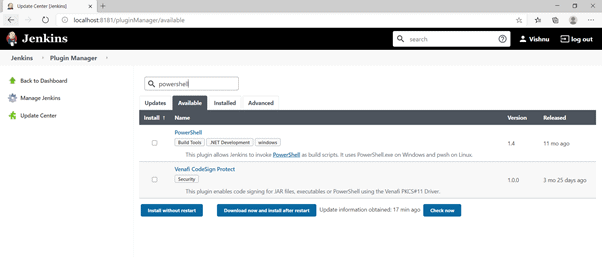
On the next page, select the 'Available' tab as shown below. In the search field type 'PowerShell' so that the plugins related to PowerShell will be listed out. Select the plugin 'PowerShell ' and choose 'Install without restart'. You are free to choose the option 'Download and install with restart' if you are fine with the Jenkins services to restart. In our case, the later option is not necessary to be selected.
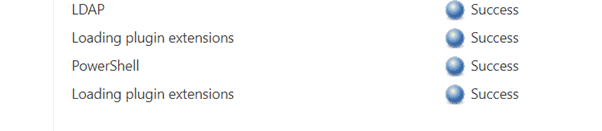
Once the PowerShell plugin installation is completed, you will get a message similar to the below one.
Create the PowerShell Script
Next, we create the PowerShell script that needs to be scheduled using Jenkins. I have written a PowerShell script called ‘checklastreboothistory.ps1’ for the demo. This script will pull information about the last reboot of the server and log this in a text file. The output file is called rebootlog and stored in the C:\ps\RebootHistory location. This is done using the WMI classes to pull the reboot information. Please refer here to read more on WMI : https://technet.microsoft.com/en-us/library/cc181125.aspx.
The script contains:
$data = Get-WmiObject -class win32_OperatingSystem -computername localhost
$uptime = $data.ConvertToDateTime($data.LastBootUpTime)
$uptime | Out-File C:\ps\RebootHistory\rebootlog.txt -Append
The script in the PowerShell ISE looks like the below image:

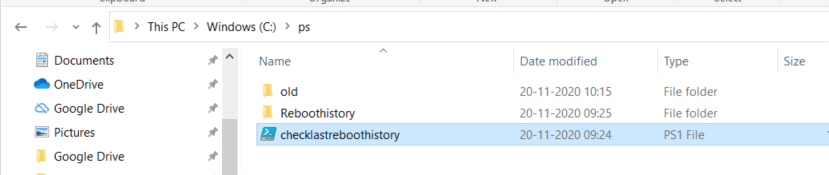
This figure shows the location of the checklastreboothistory.ps1 file.
Schedule PowerShell script with Jenkins
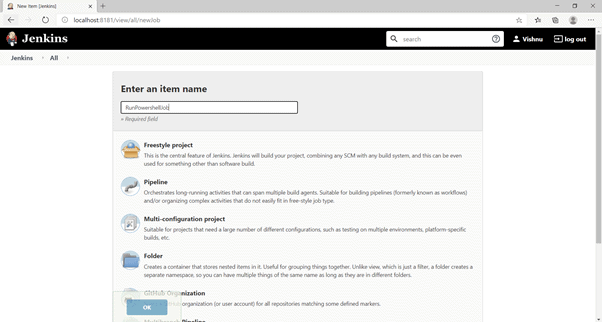
Login to the Jenkins URL and supply the credentials. This will display the Jenkins home page. Click on New Item option on the left hand side.
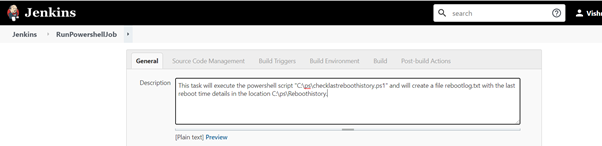
Type a job name that makes sense to you. I named mine 'RunPowerShelljob' for this example. Click on the option 'Freestyle project'. Other options are projects with multiple other features for implementing the DevOps tasks. For our scope, we need the 'Freestyle Project' only.
On clicking OK, the below page is displayed. Fill in the description text field with some meaningful sentence depicting the task we are going to create.
Scheduling the task is handled in the 'Build Trigger' tab. In the schedule text field, mention the frequency in the crontab format.
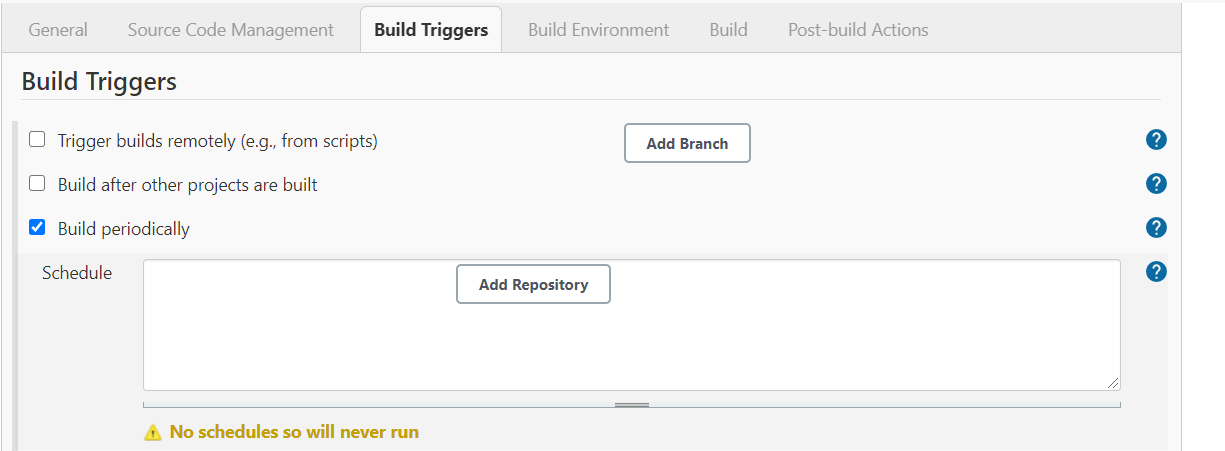
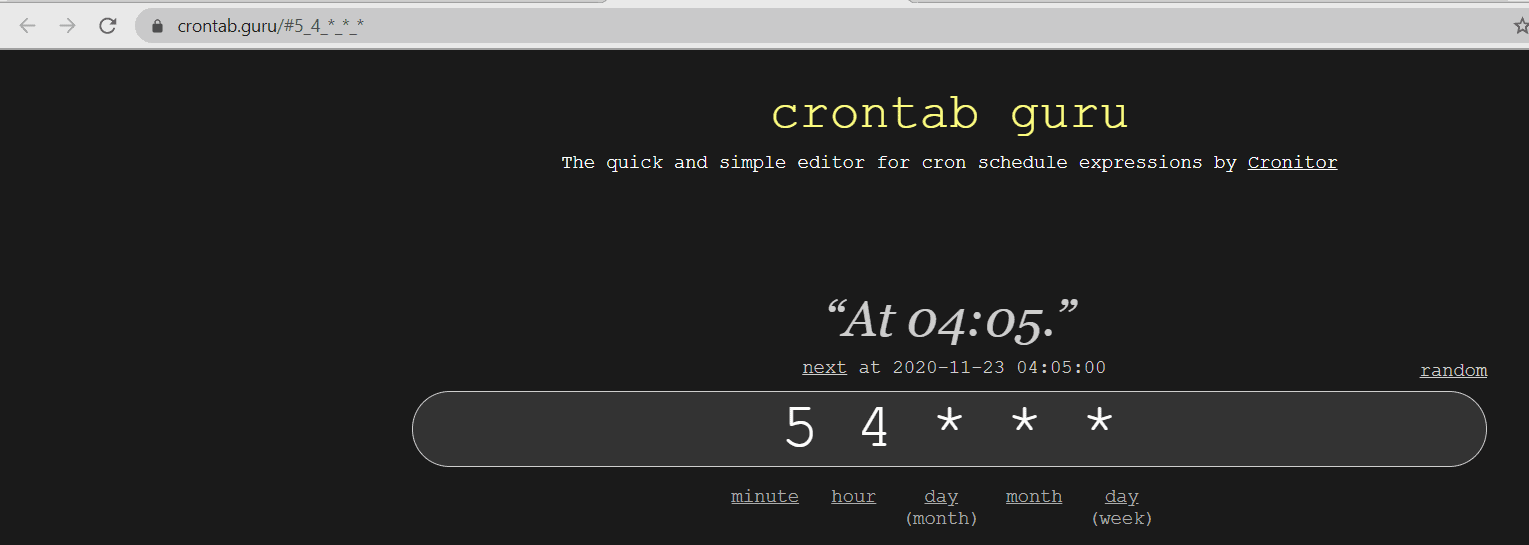
Crontab format can be easily built using the crontab.guru website. In our case, I am creating a crontab schedule to run the job every day 4:05 AM. Hence I need to use 5 4 * * * crontab format.
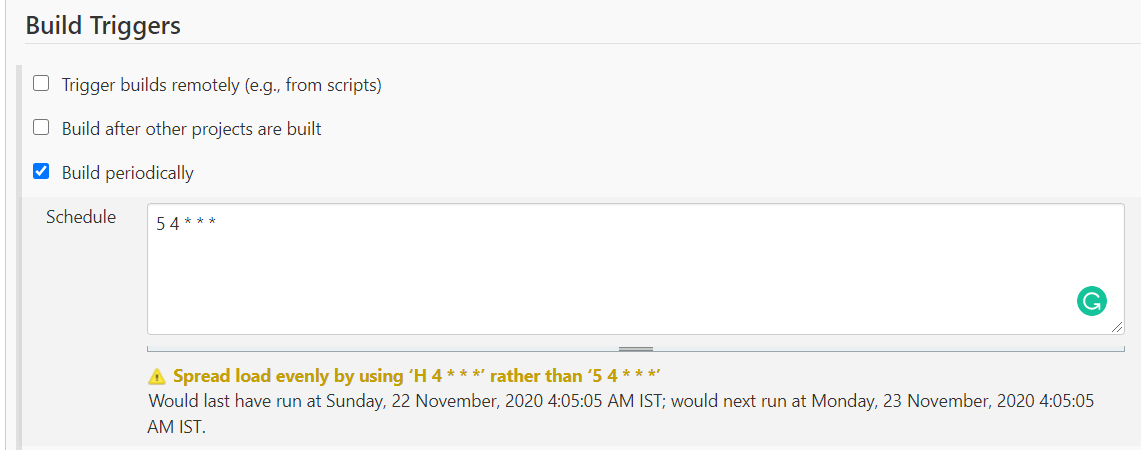
Fill the schedule text field with the crontab format schedule.
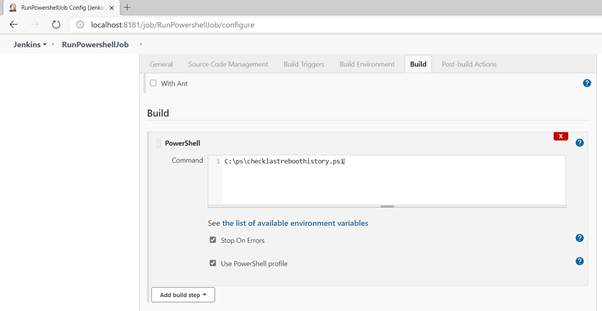
In the Build tab, select the PowerShell from the dropdown options.

In the PowerShell text box, specify the PowerShell script location in the Command text field. In our case, C:\ps\checklastreboothistory.ps1 is the fully qualified script location and shown below in the Command text field. Click OK. Other tabs like 'Source Code Management', Build Environment, Post Build Actions can be skipped considering the scope of this article.
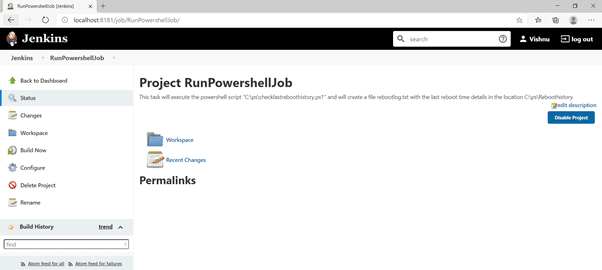
Once the Jenkins task job is created, the Project management page for the task will be displayed as follows with the project(task) name at the top.
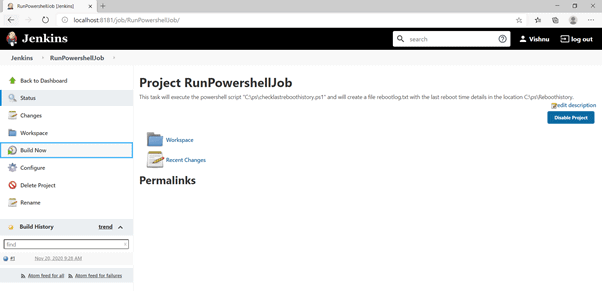
For adhoc execution of the job Click on the 'Build Now' option on the left side else it will run on the schedule defined.
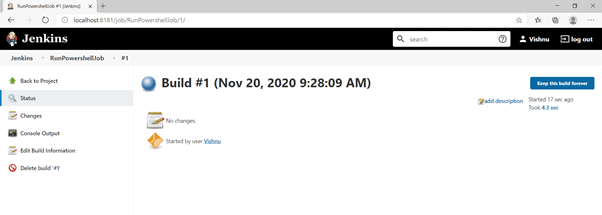
To view the status of the job execution, Click the Status option on the left side.
For detailed job output ,Click on the Console output.

Verification
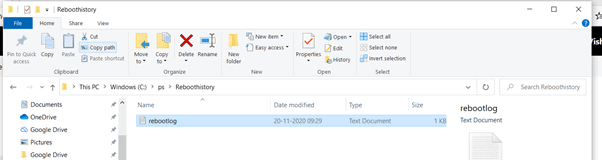
Successful script execution status can be verified by checking the rebootlog.txt file creation in the C:\ps\reboothistory location which is supposed to be the output of PowerShell script execution.
After execution of the job, a text file, named Rebootlog.txt, has been created in the folder as directed in the PowerShell script. Again, this is a verification step based on my PowerShell script example. This is just included to show that the PowerShell script that we scheduled is completed and the expected result is achieved.
If you check the folder, you will see this text file.
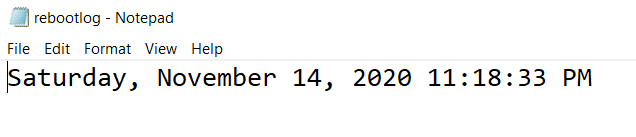
The content of the rebootlog.txt file shows the last reboot time of the server.
Conclusion
This article explained how to schedule a PowerShell script using the Jenkins automation tool which will help the administrators to schedule their daily tasks. The advantage of using Jenkins over the Windows task scheduler is that there is an inbuilt log capturing mechanism with Jenkins which stores the execution logs in a structured way without much administrative overhead.