Everyone loves a demo. When I say everyone, I mean I personally love seeing a demo in a session which is why 99% of any sessions I present will have at least one demo. This is a risky business, especially when dealing with Cloud stuff and conference wifi which is why I always record my demo’s in case they’re ever needed.
Those that know me know that I’m tight and don’t like spending money on stuff that I really need and tend to waste it on cars and watches instead so when it comes to recording I use the FREE opensource software Open Braoadcasting Software (OBS). This software is more than I’d ever need for recording and did I mention, it’s FREE!!
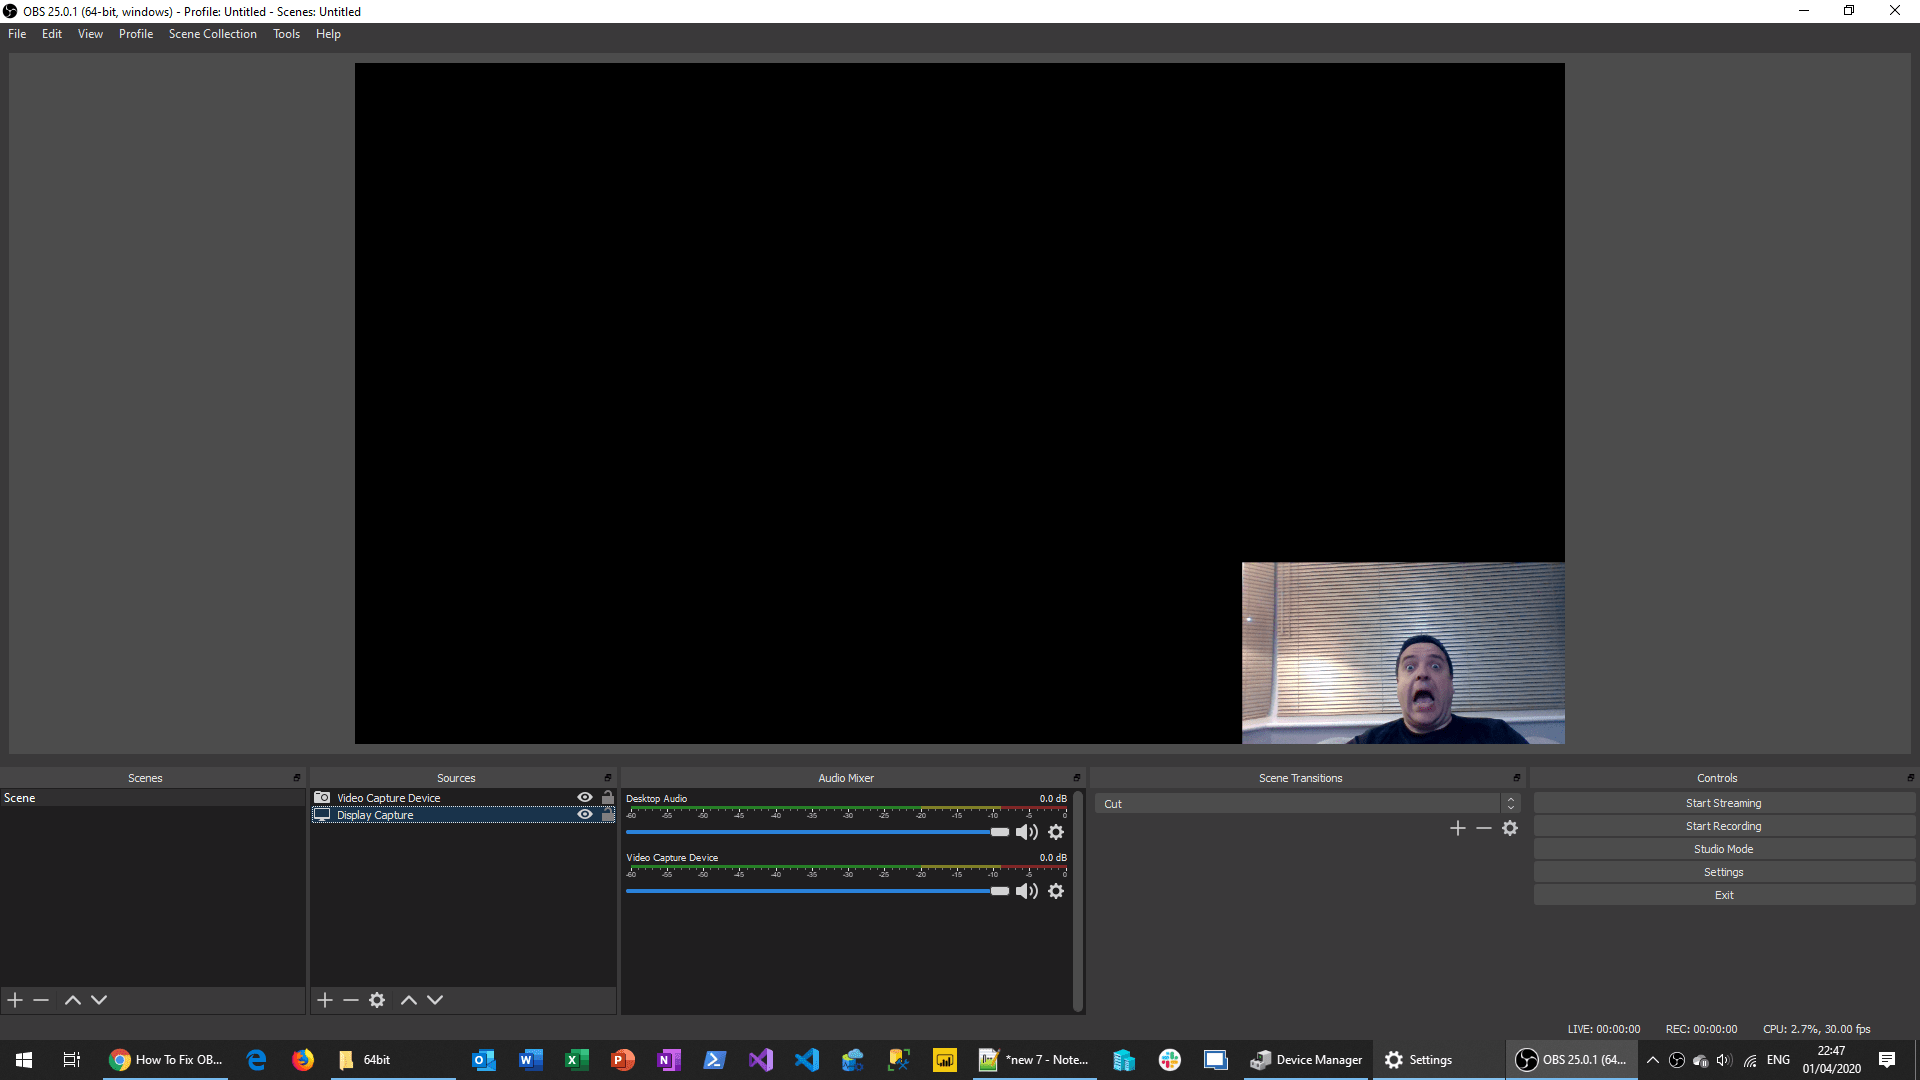
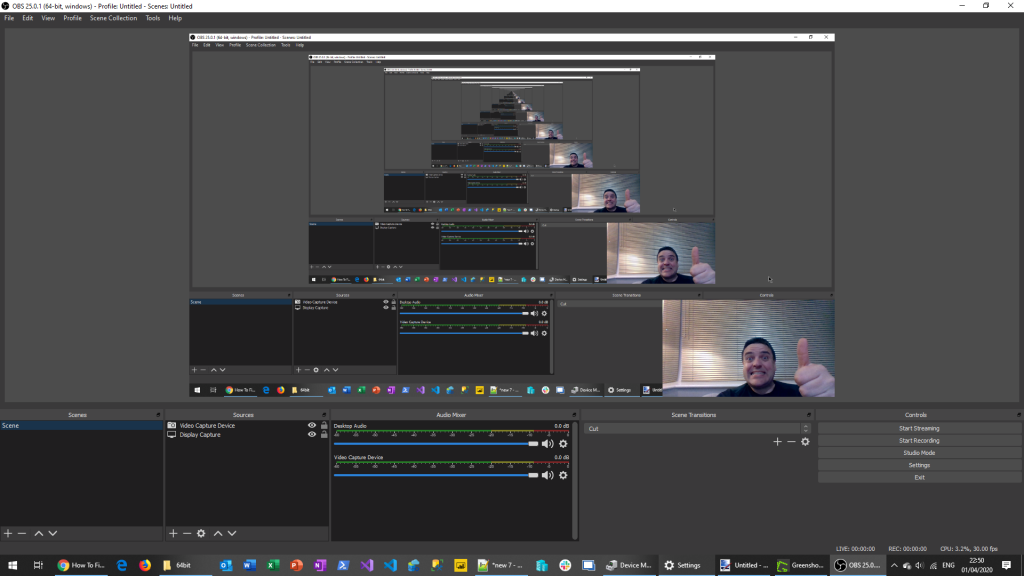
However, there has always been a bit of an issue with getting it to work. Especially for those fortunate to have a separate GPU. My laptop has a NVIDIA Quadro P1000 GPU, not the best out there but it came with the beast and does a job for me. This however is where the issue begins. When you have a separate GPU the software doesn’t know which one to use so when you fire up OBS and choose your Display Capture (ie. screen to record) you will see nothing but a black screen. You can see by the shock on my face that I’ve seen this before but updates seem to reset the changes you need to make (see further down):
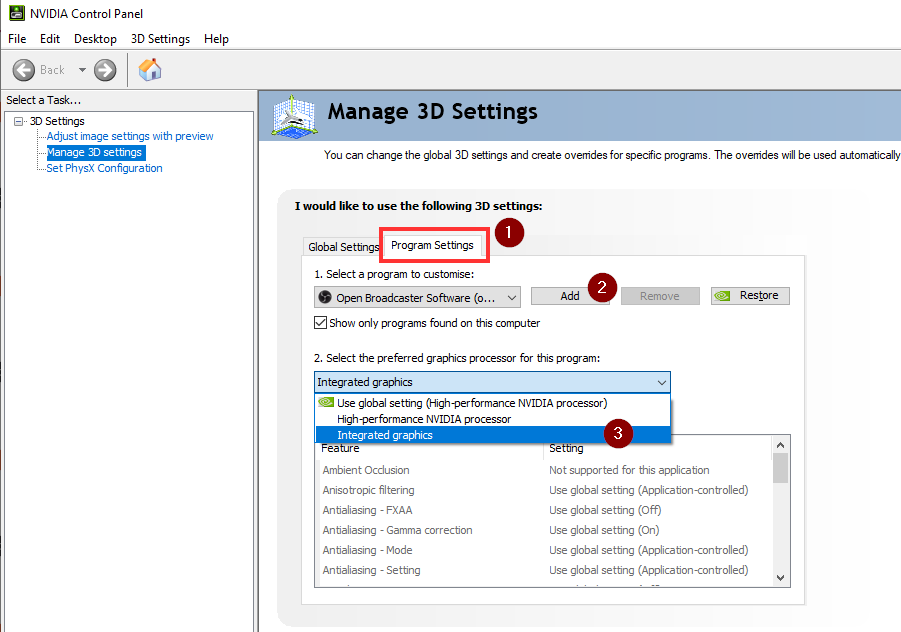
Now, the fix used to be very simple, you would:
- Open the NVIDIA control panel
- Click on “Program Settings” tab
- Choose the Open Broadcaster Software in “Select a program to Customise”
- Change the preferred graphics processor to “Integrated Graphics”
- Click Apply and re-open OBS
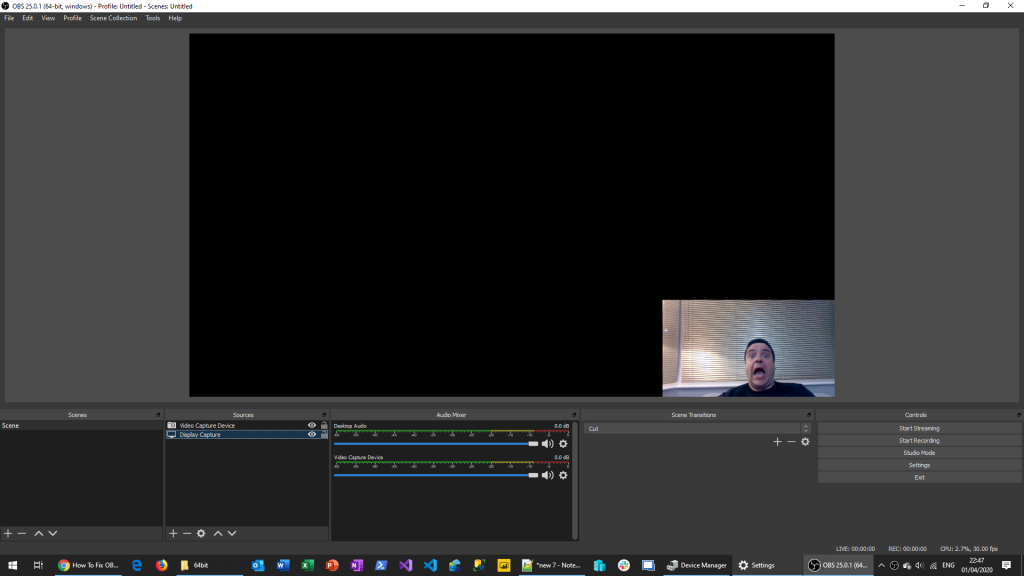
However, recent updates to either windows, NVIDIA and/or OBS has meant that this alone no longer works and you will end up tearing your hair out as per image below
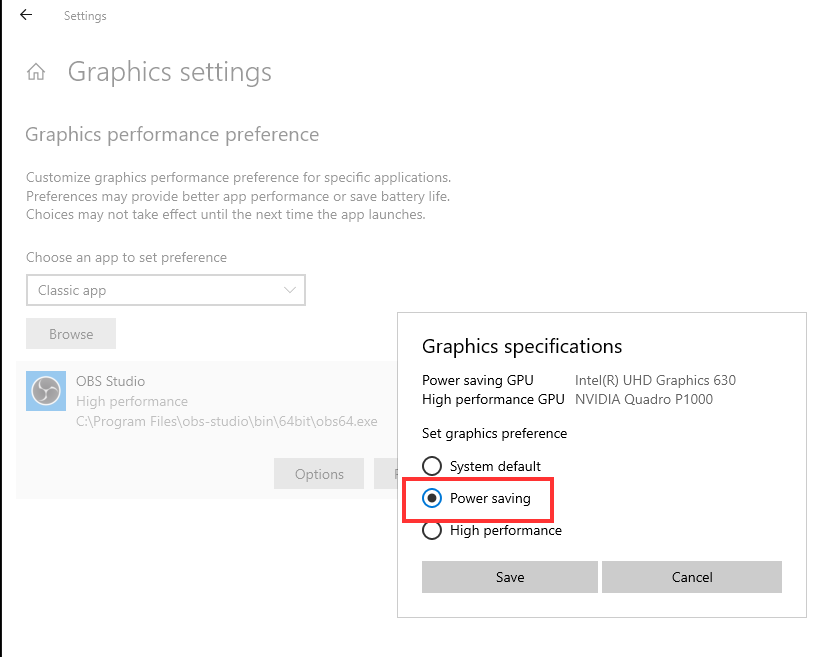
There is now an additional step you need to undertake which is to change the OBS exe to run in “Power Saving” mode.
To do this, navigate to Settings–>Graphics Settings and Browse to the OBS exe which can be found at “C:Program Filesobs-studiobin64bit”. Once selected, click Options and choose “Power Saving” for the Graphics Specification as per image below:
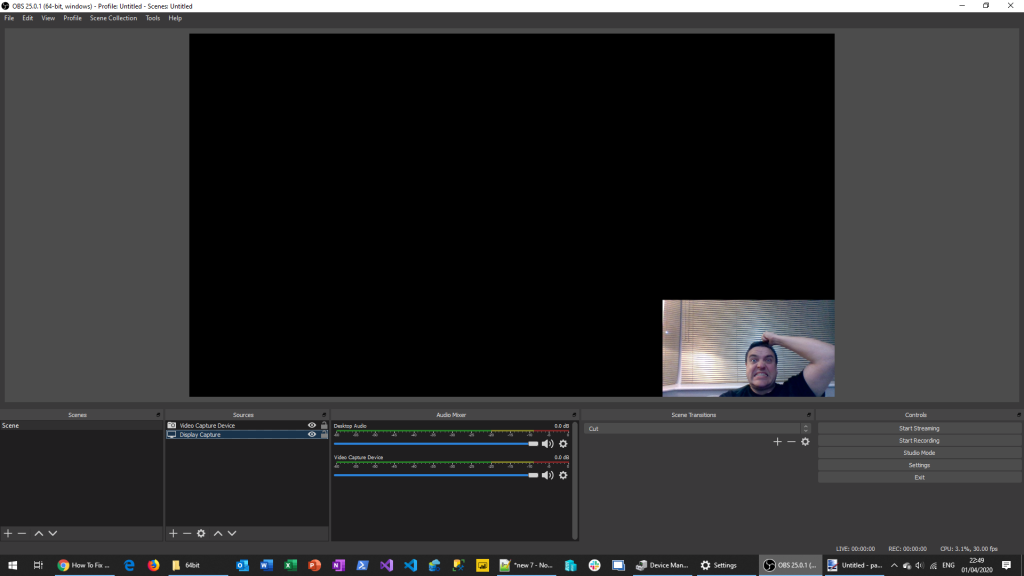
Once you have saved this then the screen Capture should now show the screen you are wishing to record you demo’s on and we’re in a happy place :).
As to why this is now required, I really don’t know at the moment and I’m sure in a few months time there’ll be something else which stops it from working.
Hopefully this helps others and if nothing else, will act as a reference guide for when I have to do this again in a few months and will have forgotten the process!